By letting Archilogic convert your static 2D floor plan into a digital one, you’ll be able to access all the metadata it contains and use it in a wide array of different use-cases.
In this article, we‘re going to take a closer look at the Print app and all the features and customization options it provides.
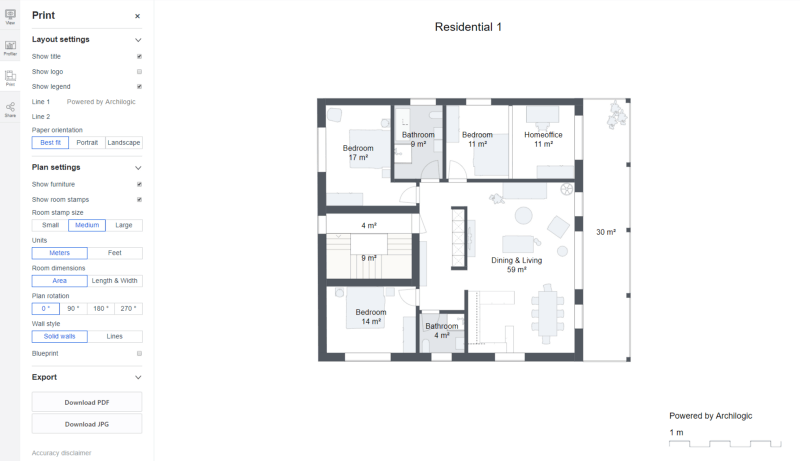
Layout settings
With the first set of options, you can customize the general layout of the print and choose the type of information that will be shown.
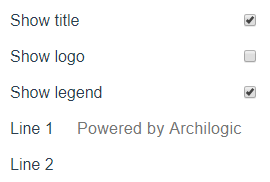
- The Show title checkbox allows you to display the title of the model. You can change the title of a model in the View tab.
- The Show logo checkbox allows you to display the logo of your organization. You can upload or change the logo in your organization settings.
- The Legend checkbox allows you to display two lines of text in the bottom right corner of the floor plan. You can uncheck the box if you prefer not to include text.
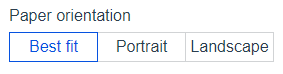
The Paper Orientation options will let you switch the paper orientation from “Portrait” to “Landscape”. When selecting “Best fit” the Print app will automatically find the optimal fit for the floor plan.
Plan settings
In the plan settings, you can customize the floor plan itself and how it is shown or what information it contains.

The Show furniture
checkbox lets you display furniture pieces in the floor plan.
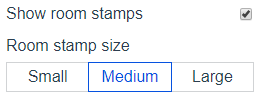
The Room stamps checkbox adds the description and the dimensions of each room to the floor plan. Below the checkbox, you can customize the size of the samps.
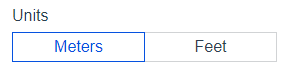
The Units option lets you switch between meters and feet.
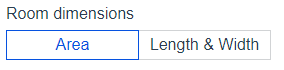
The Room dimensions
option lets you choose between area measurements, i.e. square meters, or the length and width of a room. Please be advised that the latter shows the maximum length and width of a particular room.
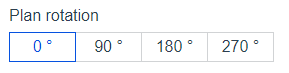
The Plan rotation options allow you to rotate the floor plan in 90° steps while keeping the orientation of the paper
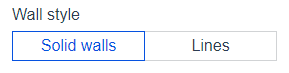
The Blueprint checkbox will display blue lines instead of black ones.
Export
Finally, in the Export section, you can either export your custom floor plan as a PDF document or as a JPG image.
And that’s all you need to know to edit and download a digitally optimized 2D floor plan of your Archilogic space.
Time for another quick read?


