With the new sharing tab, it’s never been easier to show your Archilogic floor plans and 3D models to your co-workers and customers. You can even embed it on your own website or blog.
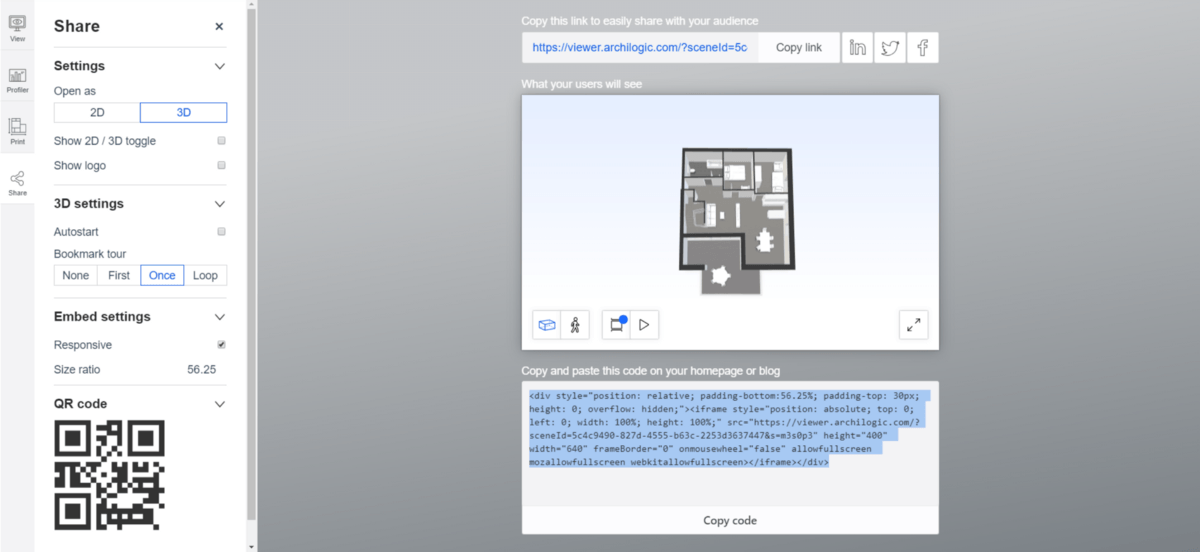
To start, open the model you wish to share on your dashboard and then click on the share menu icon to the left of the screen. On the left, you’ll see a number of sharing options. To the right, you’ll see a preview, the shareable links as well as the iframe. Let’s take a look at the various options.
Settings
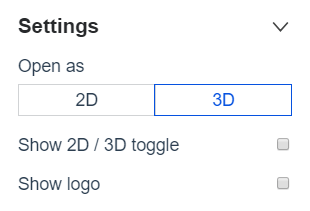
The first set of options allow you to determine whether you want the plan to initially open in 2D or 3D mode
.
With the 2D / 3D toggle
you determine whether your audience should get the choice to see both options. Keep in mind that not showing the toggle means that the person looking at the content will only be able to see it either in 2D or 3D mode.
With Archilogic you can also show your company logo
in the top left corner of the shared Archilogic content. (You can upload a company logo in the organization tab of your account settings.)
3D Tour Settings
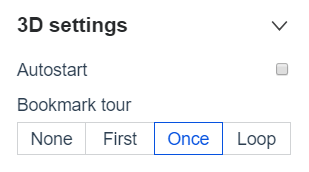
These are specific to the 3D mode. Autostart
allows you to determine if the 3D model should load automatically or if the person viewing the 3D model should hit a play first. Please keep in mind that a 3D model that loads automatically can impact the overall performance of the website.
There are 4 options for the bookmark tour. If “ None
” is selected, the camera will not move on its own when the model is loaded and will instead require user interaction. If “ First
” is selected, the camera will only move to the first bookmark, stop there, and await further user interaction. “ Once
” means the camera will fly through all the camera bookmarks once and then stop. Finally, if “ Loop
” is selected, the camera will fly through all the bookmarks and then start over.
Embed Settings
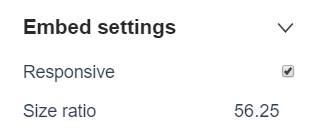
With the next set of options, you can control how to embed an Archilogic model as an iframe. The checkbox allows you to determine whether the iframe should be responsive and adjust its own size according to the browser window or not. If the checkbox is ticked you can also edit the size ratio of the iframe. The preview of the iframe on the right changes depending on the ratio you enter.
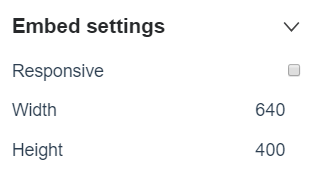
If you don’t want a responsive iframe and untick the “Responsive” checkbox you can determine the fixed pixel width and height . As before, the preview iframe on the right will change accordingly - as will the iframe code below the preview.
QR Code
There is also a QR code for people to be able to quickly open Archilogic content on their mobile devices. It changes according to the settings selected above, and so will the URL, iframe preview and iframe code.
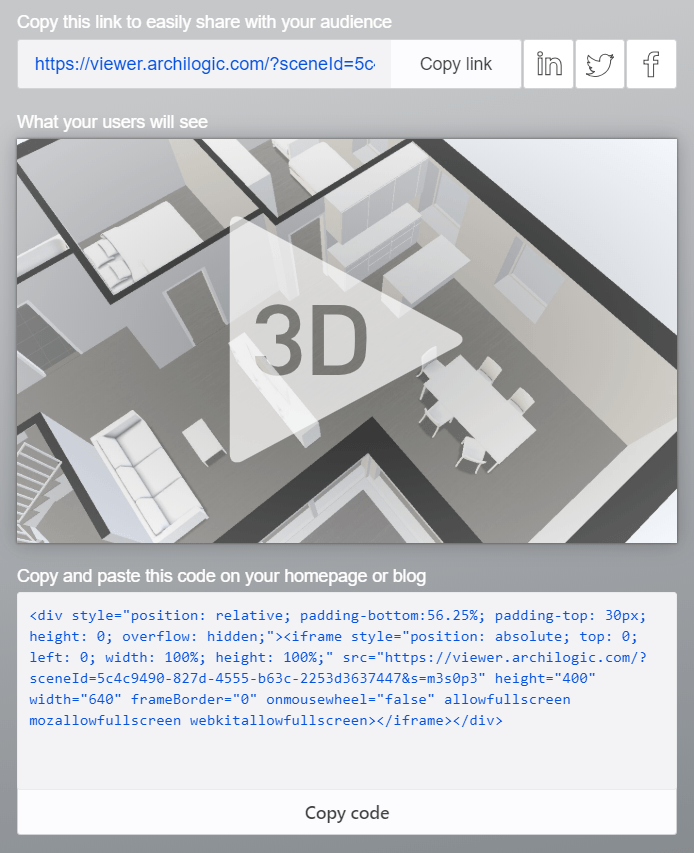
Links, Previews and Iframes
One last thing: always remember to choose the options and settings before sharing a URL or embedding an iframe on your website. Doing it the other way around will have no effect on an already shared link, QR code or embedded iframe. This gives you the option to share the same content in different ways depending on the audience.
Done — we hope you enjoy sharing content with your users!
Time for another quick read?


